- About Us
-
Space delivers data-driven insights, streamlined processes, and exceptional user experiences that drive success through services like data analytics, Generative AI, Generative AI, process automation, and UX/UI design.
Empower your teams to make smarter decisions.
Gain a competitive edge and optimize your business.

Witness the impact of our AI service on a business's success.


Streamline your data processes for maximum efficiency.

Elevate your brand with our innovative designs.

Witness the impact of our AI service on a business's success.

Maximize product impact with our dedicated management services.

Achieve your project goals with our expert support Team.
-
Space Products leverage cutting-edge technologies to streamline workflows, reduce errors, and empower data-driven decision-making. Experience the future of business automation.
Transform your business operations with Space Products.

Witness the impact of our AI service on a business's success.

Streamline your data processes for maximum efficiency.
-
Space partners with businesses across a wide range of industries to optimize operations and drive success through data-driven insights and streamlined processes.
Explore our industry solutions and discover how we can help your business thrive.


I love the moment when a design stops being a static picture and starts to move. When the colors, spacing, and micro-interactions begin to express the product's tone, that’s what I call vibe coding. This approach involves fast, design-led front-end prototyping that captures the look and feel, or vibe, so stakeholders and users can truly experience the product early and often.
Below, I’ll explain what vibe coding is, when to use it, provide a small hands-on example step-by-step, and include a brief but crucial warning about validation: vibes are not facts.
What is vibe coding
Vibe coding means converting design intent—like mood boards, micro-interaction notes, and tokens—into a small, runnable UI snippet so you can experience the design. This is not production code; it’s a prototype that helps you quickly test tone, motion, colour, and timing.
You can use it to:
- Communicate a micro-interaction or animation to developers.
- Validate visual choices with stakeholders and users.
- Speed up iterations when exploring "feel" (soft versus sharp, playful versus serious).
Don’t use it as the final implementation for critical systems or complex data flows.
Simple example — the “Mood Button” (step-by-step)
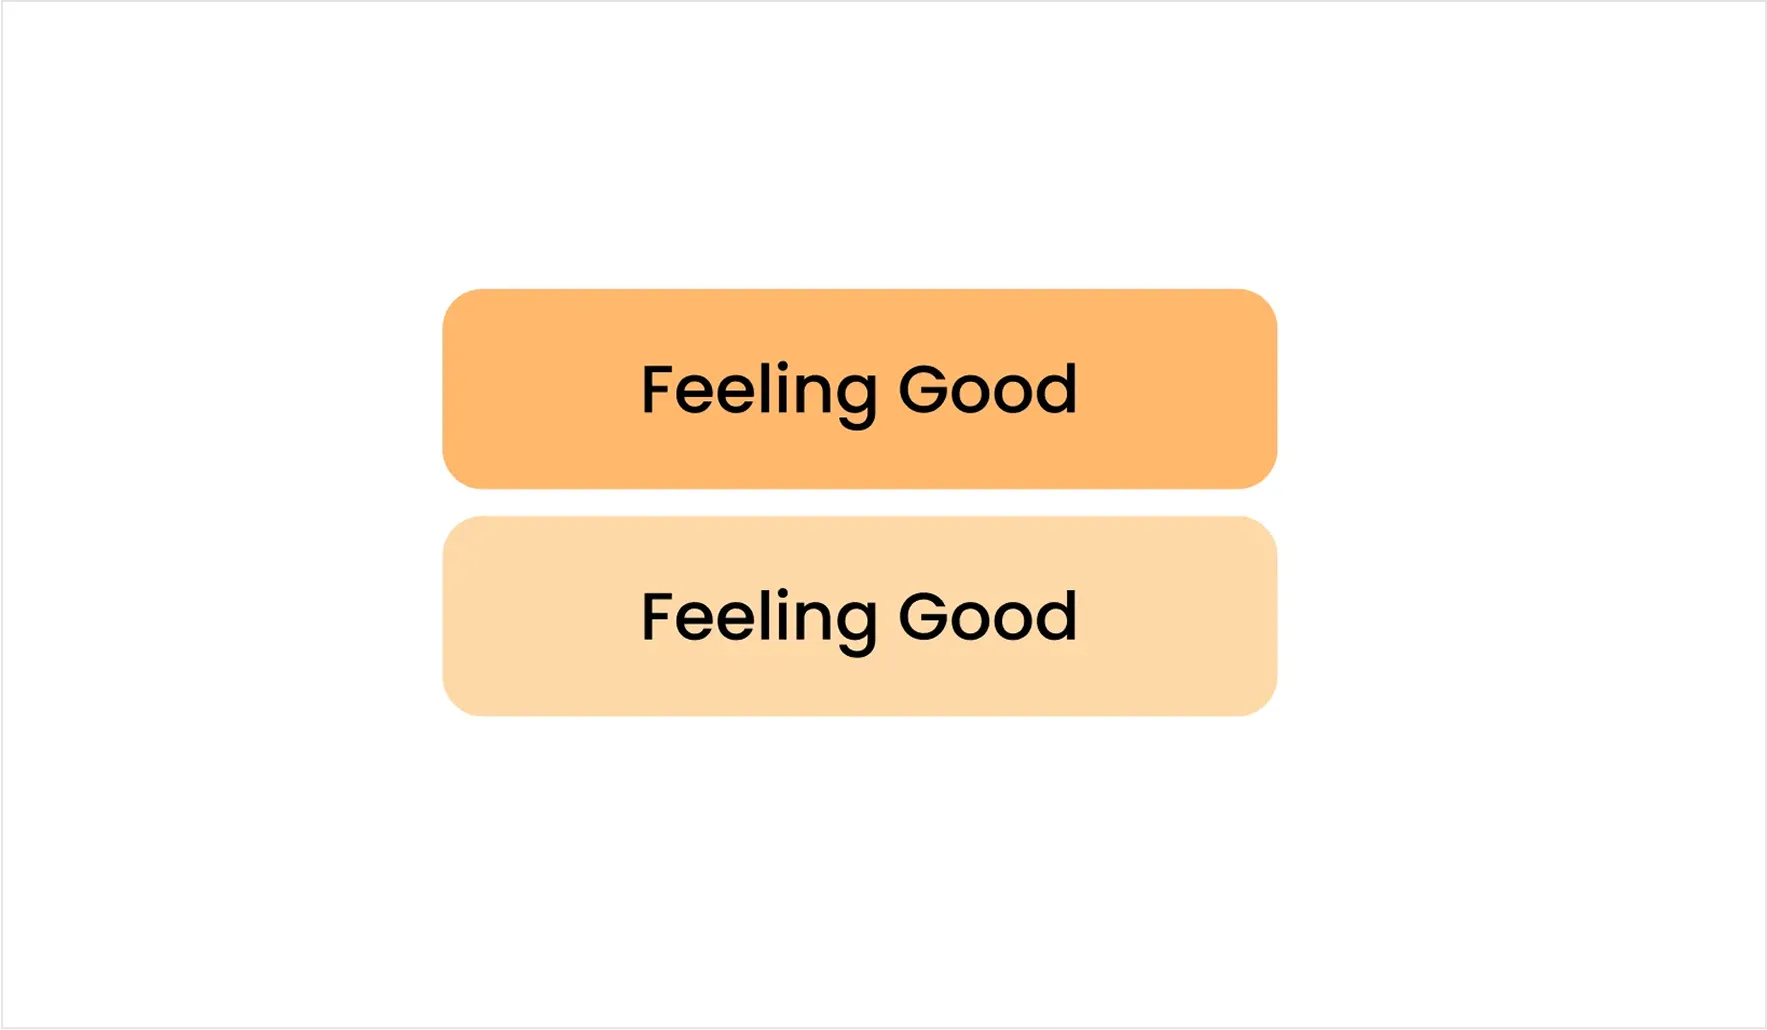
Goal: show a friendly, warm call-to-action that feels playful and alive. We'll quickly turn a design intent into a tiny prototype you can run in your browser.
Design intent (vibe) :warm, soft, playful. Rounded corners, a gentle lift on hover, a bright gradient, subtle scaling on click.
Goal: show a friendly, warm call-to-action that feels playful and alive. We'll quickly turn a design intent into a tiny prototype you can run in your browser.
Design intent (vibe) :warm, soft, playful. Rounded corners, a gentle lift on hover, a bright gradient, subtle scaling on click.
1. Sketch the tokens (visual shorthand)
Before writing any code, name the things that define the vibe:
- Primary color: warm-peach #ffb86b
- Accent: pale peach #ffd9a8
- Radius: 12px (soft)
- Shadow: soft, medium spread
- Motion: quick (≈240ms), subtle scale
These become the CSS variables in the prototype.
Attach a screenshot of a rough sketch from figma
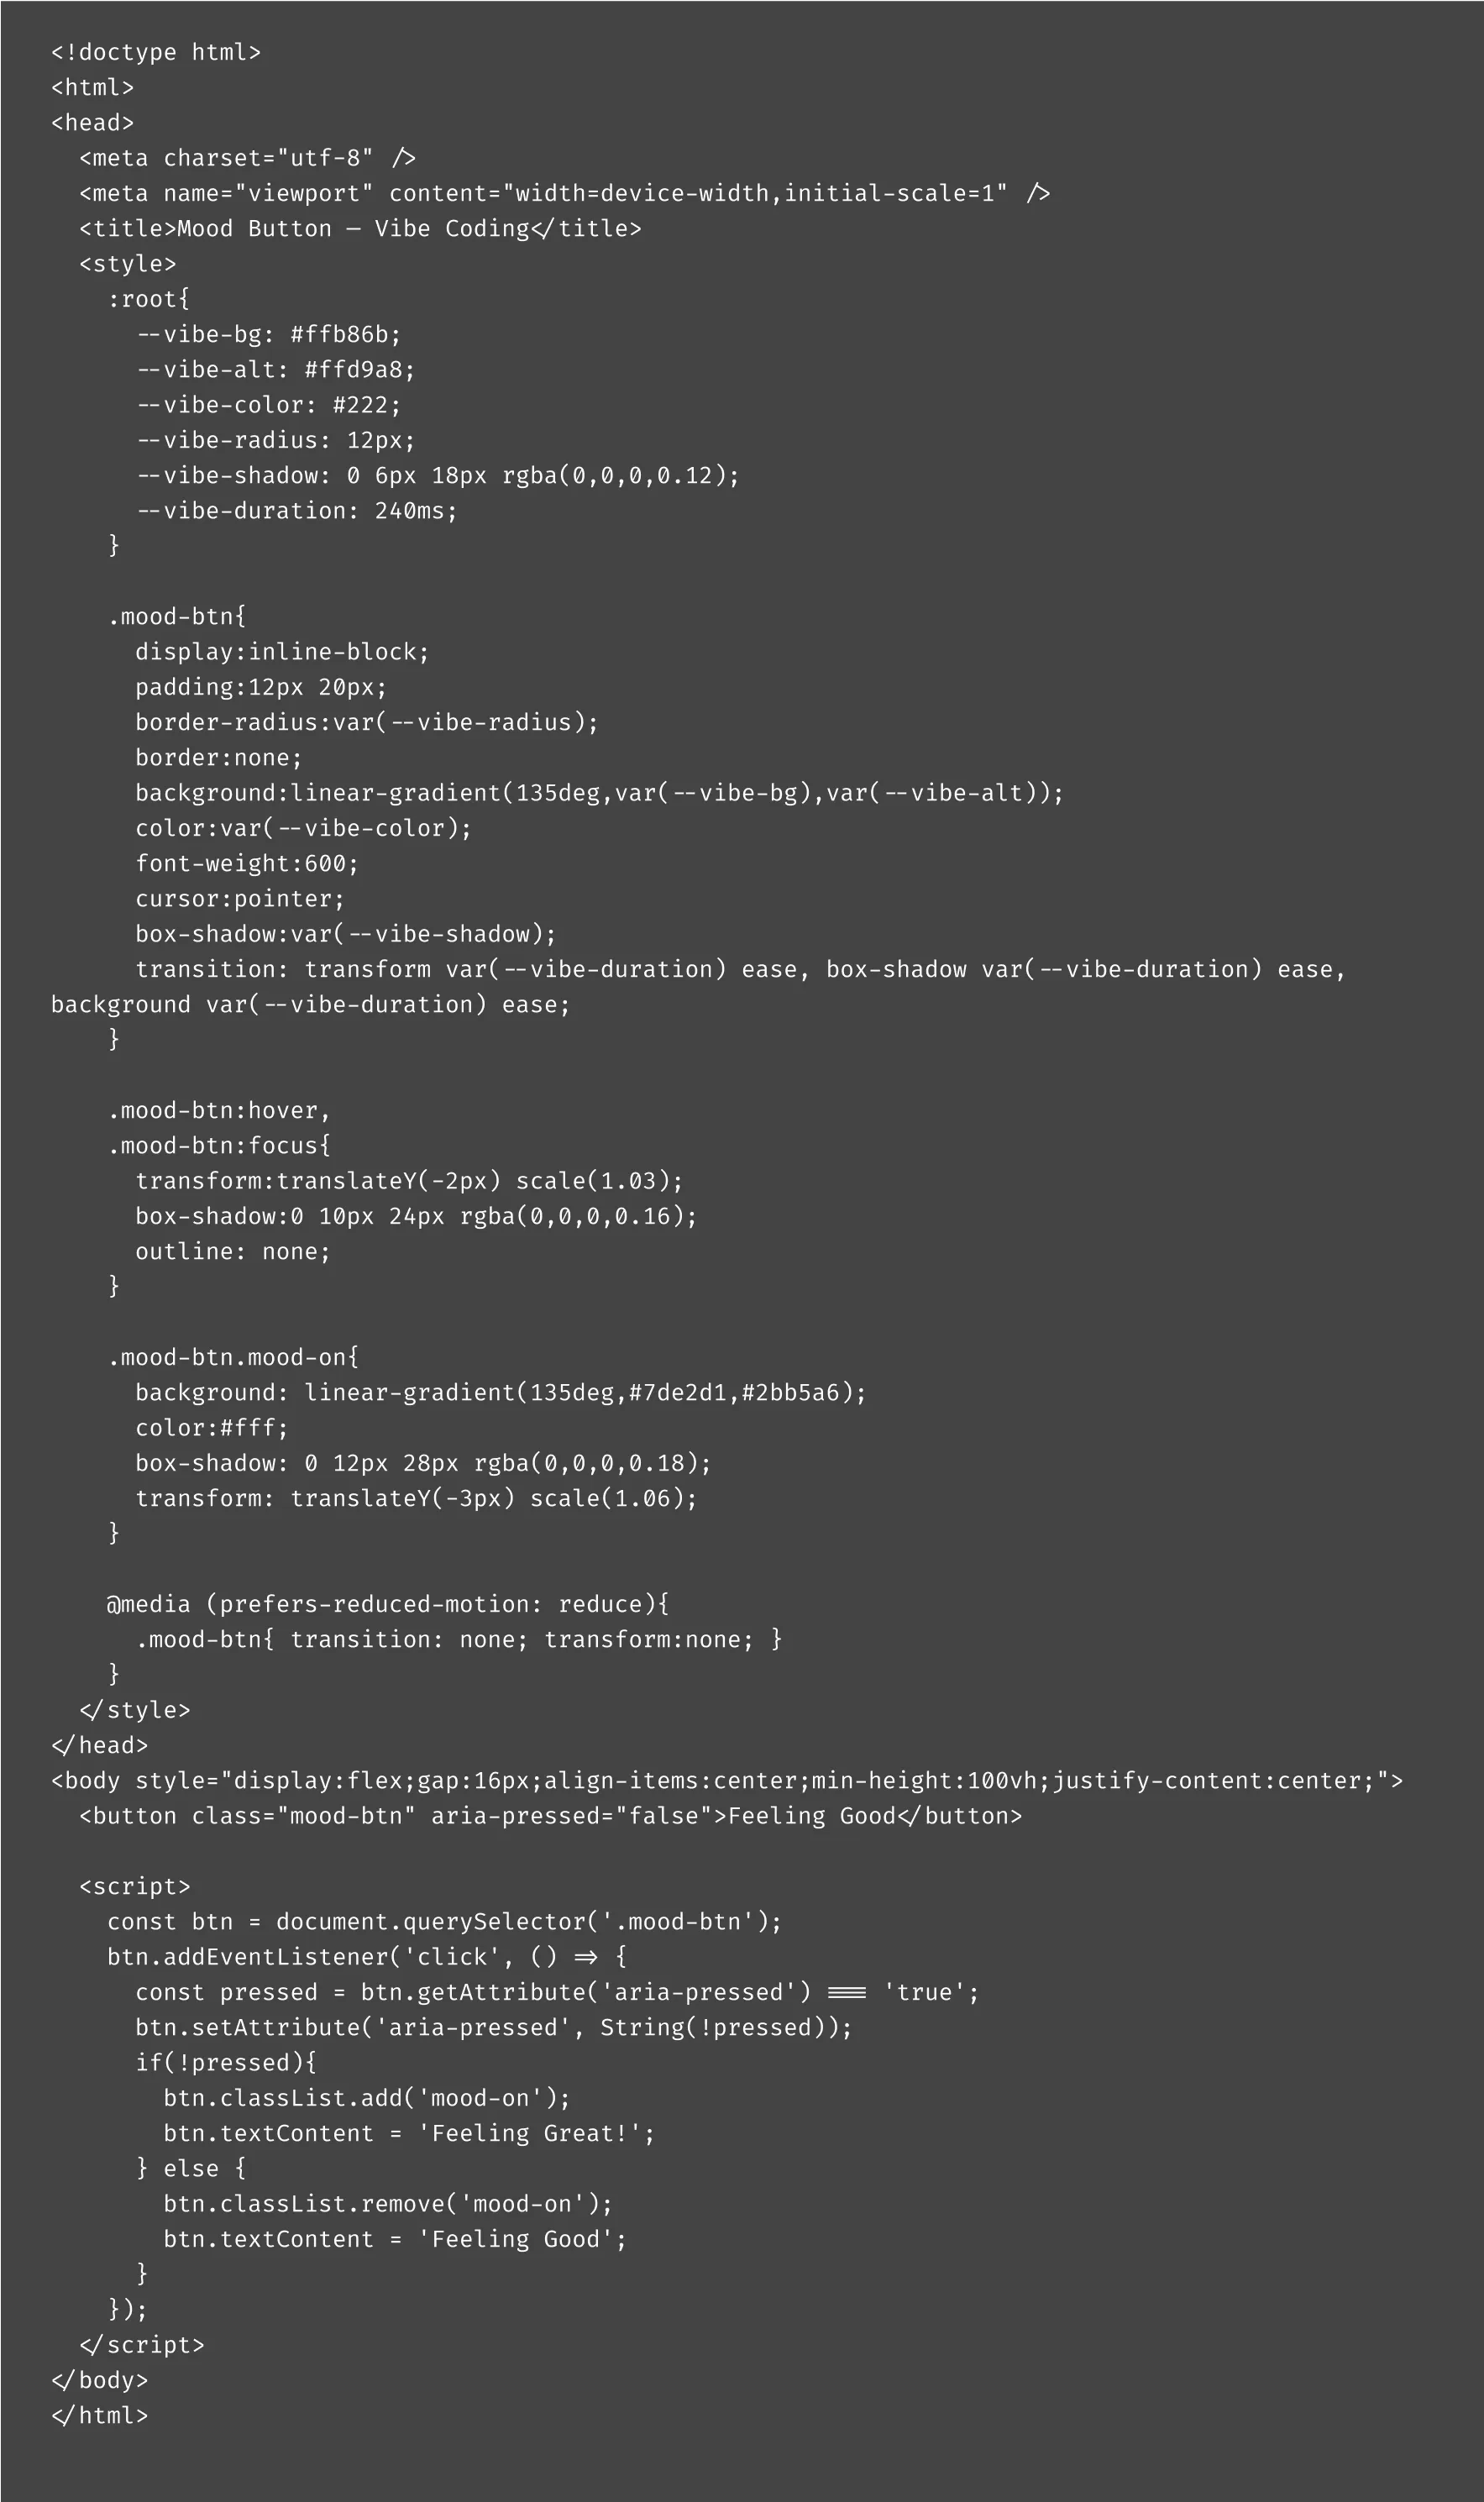
2. The minimal runnable prototype
Paste this into a file and open it (or drop into CodePen/OneCompiler):
3. Run it and feel it
Open the file. Click the button. Notice:
- The gradient and shadow create warmth.
- The lift and scale create a playful, tactile feel.
- The `prefers-reduced-motion` rule respects users who need reduced motion.
4. Iterate by tweaking tokens
Change vibe-radius to 6px → the vibe becomes sharper. Slow the vibe-duration to 400ms → it becomes more dreamy/slow. These quick swaps let you test many vibes fast.
My step-by-step vibe-coding workflow (brief)
1. Moodboard → tokens:
extract 4–8 tokens (colors, radius, spacing, animation-duration).
2. Wireframe context:
build the smallest context that matters (single page or modal).
3. Component prototype:
vibe-code 1–3 components that carry the personality (CTA, card, loader).
4. Quick validation:
demo to teammates, watch 5 users or stakeholders react for 5–10 minutes.
5. Measure & document:
record what worked/failed and export tokens + acceptance notes for devs.
6. Handoff:
provide CSS variables, animation timings, and a short rationale for decisions.
7. Hand-test accessibility & keyboard usage.
Using GPT as your vibe-coding buddy
Sometimes, you might not know the exact CSS syntax or JavaScript pattern to bring your design intent to life. That’s where GPT or any AI code assistant can help. You provide the vibe in plain English, and it generates starter code you can adjust.
But remember: the quality of your code depends on the quality of your prompt. Treat it as you would when briefing a junior developer.
Prompt formula for vibe coding
When prompting GPT, follow this structure:
1. Context (the why):
“I’m a UI/UX designer making a prototype to show the feel of a button, not production-ready code.”
2. Vibe description (the mood)
“The button should feel playful and soft: pastel gradient, rounded corners, hover lift, subtle scale animation.”
3. Constraints (the must-haves)
“Use only HTML/CSS/vanilla JS. Keep it minimal, in one file, so I can run it in the browser. Respect prefers-reduced-motion.”
4. Output format (the deliverable)
“Give me the full code, inside … tags, so I can copy-paste and run.”
Example prompts you can actually use
When prompting GPT, follow this structure:
1. To start from scratch:
“Generate a minimal HTML/CSS/JS snippet for a call-to-action button. The vibe is playful and soft — pastel gradient, rounded corners, hover lift, and a quick scale animation. Keep it in one file I can paste into CodePen.”
2. To tweak an existing design:
“Here’s my current button code [paste your snippet]. Make the vibe more professional and sharp: dark navy background, smaller radius, slower hover animation, high contrast text.”
3. To explore alternatives:
“Show me three variations of this button with slightly different vibes: (1) dreamy/slow, (2) energetic/sporty, (3) elegant/ . minimal. Use CSS variables so I can quickly adjust.”
4. To check accessibility:
“Review this button code [paste snippet]. Suggest improvements for color contrast, keyboard accessibility, and aria attributes.”
Quick warning
GPT is excellent for speed — but not always for correctness. It may:
- Suggest colors that fail accessibility contrast.
- Add code that works in isolation but not in production.
- Over-engineer a simple interaction.
So always treat AI outputs as draft prototypes — you’re still the designer responsible for vibe and validation.
Validation: the non-negotiable step
Vibe ≠ truth. A prototype shows feel but not accessibility, security, performance, or edge cases. Always validate:
- Contrast & color accessibility: run checks (aim WCAG AA or better where needed).
- Keyboard & screen-reader: can someone tab and activate the UI? Does aria state make sense?
- Performance & memory: animations can be cute — but heavy shadows and large repaints kill battery on mobile.
- Real data & edge states: test empty states, long text, localization (long labels).
- User testing: show the prototype to people who represent your users. Does the vibe help them understand and act?
If you skip validation, you might ship a delightful-looking feature that’s unusable for many users.
Final note - be playful, but be scientific
Vibe coding is one of my favourite shortcuts to clarity. You turn feelings into something tangible that people can react to. But feelings are subjective, so measure them. Use quick prototypes to provoke reactions, then validate those reactions with tests and checks that matter.
Read More

By Shravya Singh
UI/UX Designer
Read other blogs
Your go-to resource for IT knowledge. Explore our blog for practical advice and industry updates.


Discover valuable insights and expert advice.
Uncover valuable insights and stay ahead of the curve by subscribing to our newsletter.
Download Our Latest Industry Report
To know more insights!
PRODUCTS


